
There are few kitchen appliances as deceptively simple — and yet as deeply misunderstood — as the rice cooker. Press a button, walk away, and come back to perfectly cooked rice. That’s the promise. But if you’ve ever lifted the lid to find mushy, soggy, or crunchy rice staring back at you, you know the reality can fall embarrassingly short.
The truth is, using a rice cooker properly involves considerably more nuance than just dumping in rice and water. There’s an art to rinsing, a science to ratios, and a whole universe of techniques that separate mediocre results from truly exceptional bowls of rice. Whether you own a basic single-button model or a high-end fuzzy logic machine, this guide covers everything you need to know — from the moment you unbox the appliance to the daily habits that will make your rice consistently outstanding.
Ready to become genuinely good at this? Let’s go through it properly.
What Is a Rice Cooker and How Does It Work?
A rice cooker is a countertop electric appliance designed to automate the cooking of rice. While the concept seems straightforward, the engineering behind even a basic model is remarkably clever. At its core, a rice cooker operates on a simple thermodynamic principle: water boils at 100°C (212°F) at sea level. Once all the water in the pot has been absorbed by the rice or evaporated, the temperature begins to rise above 100°C. A thermostat inside the cooker detects this temperature spike and automatically switches from “cook” to “keep warm” mode.
This automatic cut-off is what makes rice cookers foolproof — in theory. The cooker essentially knows when the rice is done without any timers, guesswork, or supervision on your part. The heat generated during cooking forces moisture uniformly into the rice grains, gelatinizing the starch and producing that characteristic soft, fluffy texture we associate with well-cooked rice.
The Internal Components
Understanding what’s inside your rice cooker helps you use it more intelligently:
- Inner pot: Usually made from aluminum or stainless steel with a non-stick coating. This is where the magic happens and where most of your maintenance attention should go.
- Heating element: Located beneath the inner pot, it generates the heat needed for cooking.
- Thermostat or thermistor: The brain of the operation. In basic models, it’s a simple spring-loaded thermostat. In advanced models, it’s a sophisticated sensor that reads temperature multiple times per second.
- Lid: Traps steam and maintains pressure. Many modern lids are removable and dishwasher-safe.
- Steam vent: Allows excess steam to escape safely, preventing dangerous pressure buildup.
- Control panel: Ranges from a single switch to a full LCD touchscreen depending on the model.
If you’re also exploring other time-saving kitchen appliances, you might be interested in our guide to the best Instant Pot models for 2026, which can also cook rice along with dozens of other dishes. The Instant Pot vs. slow cooker comparison is also worth reading if you’re deciding between pressure cooking and traditional low-and-slow methods.
Types of Rice Cookers: Which One Do You Have?
Not all rice cookers are created equal. The type of machine you own significantly influences how you should use it, what results to expect, and which advanced techniques are available to you. Here’s a breakdown of the main categories:
1. Basic On/Off Rice Cookers
These are the most common and affordable models. They have a single switch that flips between “Cook” and “Warm.” They work well for white rice but can struggle with brown rice, sushi rice, or specialty grains. Their thermal cut-off is mechanical and fairly imprecise.
2. Micom (Microcomputer) Rice Cookers
These models use a microcomputer chip to monitor and adjust the cooking temperature throughout the process. They typically offer multiple settings for different rice types, porridge, steaming, and sometimes slow cooking. They’re significantly more consistent than basic models.
3. Fuzzy Logic Rice Cookers
Building on Micom technology, fuzzy logic cookers use complex algorithms to make real-time adjustments based on what’s happening inside the pot. They can detect if you’ve added too much or too little water and compensate accordingly. Japanese brands like Zojirushi and Panasonic are famous for their fuzzy logic models.
4. Induction Heating (IH) Rice Cookers
The gold standard of rice cooker technology. Instead of heating from a single element at the bottom, IH models generate electromagnetic fields that heat the entire pot uniformly from all sides. The result is more even cooking, better texture, and superior control over pressure and temperature. These are premium appliances, often costing $200–$500+.
5. Pressure Rice Cookers
These cook rice under slight pressure, raising the boiling point of water above 100°C. This allows the rice to cook at higher temperatures, which produces a uniquely sticky, sweet texture particularly prized in Japanese and Korean cuisines. Some models combine both pressure cooking and IH technology.
| Type | Best For | Price Range | Precision |
|---|---|---|---|
| Basic On/Off | White rice, budget cooking | $15–$35 | Low |
| Micom | Multiple rice types, versatility | $40–$100 | Medium |
| Fuzzy Logic | Consistent results, variety | $80–$200 | High |
| Induction Heating | Premium quality, Japanese rice | $150–$400 | Very High |
| Pressure + IH | Restaurant-quality results | $250–$600 | Exceptional |
The best rice cookers on the market span all these categories. If you’re starting fresh, our kitchen appliance buying guide can help you think through what features actually matter for your household before you invest.

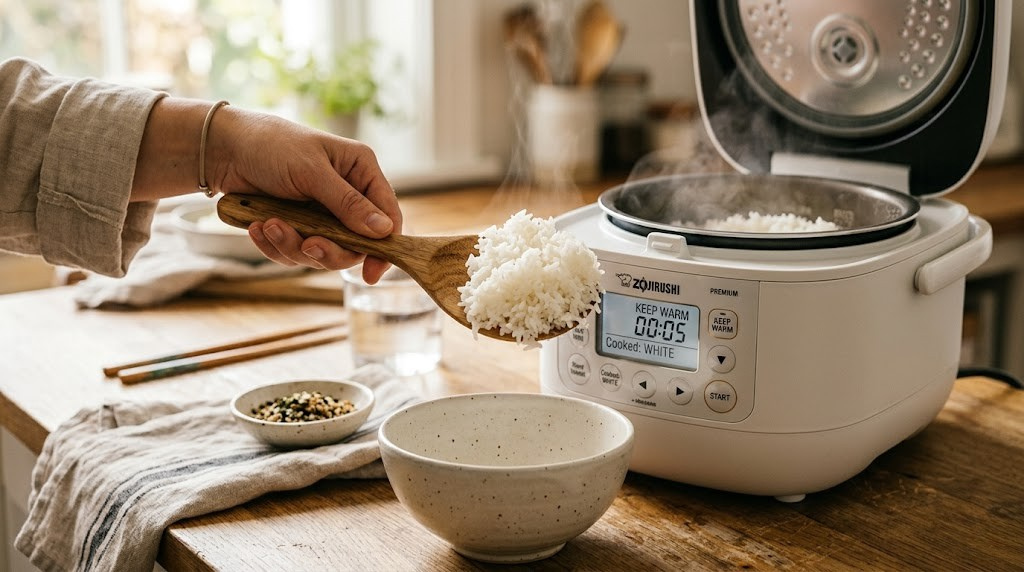
Zojirushi NS-TSC10 Micom Rice Cooker & Warmer
5.5-cup capacity, fuzzy logic technology, multiple cooking settings including brown rice, sushi rice, and porridge. One of the most trusted names in rice cookers.
Check Price on Amazon →Before You Start Cooking: The Essential Prep Steps
Most rice cooker failures happen before you ever press the button. The preparation phase — rinsing, soaking, and measuring — is where experienced cooks separate themselves from beginners. Take these steps seriously and your rice results will improve immediately.
Choosing the Right Rice
Not all rice is the same. The variety you choose dictates everything about the cooking process — water ratio, time, and texture outcome. Here are the most common varieties you’ll encounter:
Long-Grain White
Jasmine, Basmati. Fluffy, separate grains. The easiest to cook perfectly.
Short-Grain White
Japanese, Calrose. Stickier, clingier texture. Perfect for sushi.
Brown Rice
Whole grain, nutty flavor. Needs significantly more water and time.
Black / Wild Rice
Dense, chewy, nutrient-rich. Often blended. Requires the most water.
Jasmine Rice
Fragrant, slightly sticky. Thai staple. Use slightly less water than standard.
Basmati Rice
Aromatic, super fluffy. Indian cuisine. Pre-soaking improves the outcome.
The Non-Negotiable Rinse
Rinsing rice before cooking is one of those techniques that some cooks skip because it seems trivial. It isn’t. The surface of rice grains is coated in excess starch, fine dust, and sometimes residual milling agents. When you cook unrinsed rice, that surface starch cooks into a gluey, sticky mess that makes grains clump and the texture becomes gummy rather than fluffy.
The correct method is to place the measured rice in the inner pot or a bowl, add cold water, swirl the rice gently with your fingers, then carefully pour off the cloudy water. You’ll notice the water is milky white at first — that’s starch. Repeat this process three to five times until the water runs nearly clear. You don’t need it to be perfectly crystal clear, but it should be significantly less cloudy than when you started.
To Soak or Not to Soak?
Soaking is optional for white rice but highly recommended for certain varieties. Soaking hydrates the rice grains before cooking, which leads to more uniform cooking and a more tender interior. For Basmati rice, a 20–30 minute soak dramatically improves the final fluffiness. For brown rice, soaking for 30–60 minutes reduces the cooking time and improves texture. For sushi rice, most Japanese cooks recommend a 30-minute soak after washing.
If you do soak, always discard the soaking water and use fresh, measured water for cooking. The soaking water absorbs some surface starch and subtle bitterness — you don’t want to cook in it.
Step-by-Step: How to Use a Rice Cooker Properly
Now let’s go through the actual cooking process in granular detail. Following these steps consistently will transform your rice from mediocre to genuinely excellent.
Measure Your Rice Using the Provided Cup
Nearly every rice cooker comes with its own measuring cup, and here’s a critical point that trips up many first-time users: the cup that comes with your rice cooker is not a standard US measuring cup. Rice cooker cups typically measure 180ml (approximately ¾ of a US cup), not the standard 240ml US cup. If you use a standard measuring cup and follow the lines on your rice cooker’s inner pot, you’ll get incorrect ratios and inconsistent results.
Always use the cup that came with the appliance, and use the corresponding measurement lines on the inner pot. When your rice cooker manual says “3 cups,” it means 3 of those specific cups — not 3 US cups.
Rinse the Rice Thoroughly
Place the measured rice in the inner pot or a separate bowl. Add cold water until the rice is submerged. Using one hand, gently swirl and rub the grains together. You’ll see the water turn milky white almost immediately. This is the excess surface starch releasing. Carefully pour off this water by tilting the pot slightly and using your hand to block the rice from falling out, or use a fine-mesh strainer. Repeat this rinsing process 3–5 times until the water becomes much clearer. Don’t obsess over getting it perfectly clear — slightly hazy is fine and expected.
Add the Correct Amount of Water
After rinsing, add fresh cold water to the correct level. The easiest method is to use the measurement lines printed on the inner pot — these are calibrated to work with the provided rice cooker cup. After adding the washed rice, add water up to the corresponding number line. Most cookers have separate lines for white rice and brown rice; always use the correct set of lines for your rice variety.
If your inner pot lines have worn off or you prefer to measure manually, refer to the water-to-rice ratio chart further in this guide. The general starting point for white rice is a 1:1.2 ratio (1 cup rice to 1.2 cups water using rice cooker cups), though this varies by variety and personal preference.
Place the Inner Pot in the Cooker and Wipe the Bottom
Before inserting the inner pot into the rice cooker, take a moment to wipe the outside bottom of the pot with a clean, dry cloth or paper towel. This is an often-overlooked but genuinely important step. Any moisture on the exterior bottom of the pot can interfere with the heating element’s contact and temperature sensing, potentially causing uneven cooking or triggering the thermal safety cutoff prematurely.
Once the bottom is clean and dry, lower the inner pot into the cooker housing. Give it a slight twist (about 20–30 degrees) after placing it down — this ensures full, even contact between the pot base and the heating element. You’ll feel a subtle “seat” when it’s properly positioned on most models.
Select the Correct Cooking Setting
On basic models with only a single switch, simply press it down to start cooking. On Micom or fuzzy logic models, select the appropriate setting for your rice type. The most common settings include: White/Regular, Brown, Sushi/GABA, Porridge/Congee, Steam, Multi-grain, and Quick Cook. Choosing the wrong setting is a common source of poor results — cooking white rice on the brown rice setting, for example, will over-hydrate it and produce mushy texture because the brown rice cycle uses more water and a longer soaking phase.
Start Cooking and Let It Run — Don’t Lift the Lid
Press Cook and step away. This is genuinely the hardest part for many people: don’t open the lid during cooking. Every time you lift the lid, you release steam that is an integral part of the cooking process. The moisture in that steam would have been absorbed back into the rice grains. Opening the lid also drops the internal temperature, which extends the cooking time and can result in uneven texture. Trust the machine — it knows what it’s doing.
Typical cooking times: white rice takes 20–35 minutes, brown rice 40–60 minutes. When the cycle completes, the cooker will switch to “Keep Warm” mode and may produce a chime or click. At this point, you’re not done yet — move to Step 7.
Let It Steam Rest for 10–15 Minutes
When the cooker switches to “Keep Warm,” resist the urge to serve immediately. Allow the rice to rest, undisturbed and still covered, for 10–15 minutes. During this resting period, several important things happen: residual steam continues to cook the outer layers of the grains, moisture redistributes evenly throughout the pot, and the rice’s starch structure stabilizes. Rice served straight out of the cook cycle is often wet at the bottom and dry at the top. Post-cook resting solves this completely.
This 10-15 minute rest is what separates professional results from home cooking that’s just “okay.” Don’t skip it.
Fluff the Rice with the Correct Tool and Technique
After the rest period, it’s time to fluff. Open the lid and immediately use the rice paddle (shamoji) that came with your cooker, or a wooden/silicone paddle. Never use a metal spoon or fork — metal will scratch the non-stick coating of your inner pot and ruin it over time.
The correct fluffing technique uses a cutting-and-folding motion rather than stirring. Insert the paddle vertically, slice through the rice to the bottom, then gently fold sections from the outside to the center. Rotate the pot and repeat. The goal is to separate the grains and release trapped steam while keeping the grains intact. Vigorous stirring will break the grains and create a gummy paste. You want light, separate, cloud-like grains.

Aroma Housewares 8-Cup Digital Rice Cooker
Excellent entry-level digital rice cooker with multiple settings, steaming tray, and delay timer. Perfect for beginners wanting more than a basic one-button model.
Check Price on Amazon →The Definitive Water-to-Rice Ratio Chart
Water ratio is arguably the single most important variable in rice cooker cooking. Get it wrong and nothing else matters — your technique, your rinsing, your resting period will all be undermined by an incorrect water level. The ratios below are calibrated for rice cooker cups (180ml each) and assume you’ve already rinsed the rice properly.
| Rice Type | Water Ratio (RCC) | Approx. Cook Time | Pre-Soak? | Result Texture |
|---|---|---|---|---|
| Long-grain white | 1 : 1.1–1.2 | 25–35 min | Optional (10 min) | Fluffy, separate |
| Short-grain white | 1 : 1.1–1.15 | 25–30 min | Recommended (30 min) | Soft, slightly sticky |
| Jasmine rice | 1 : 1.0–1.1 | 25–30 min | Optional | Fragrant, slight stick |
| Basmati rice | 1 : 1.25–1.5 | 30–35 min | Yes (20–30 min) | Extra fluffy, long grains |
| Sushi rice | 1 : 1.1–1.2 | 25–35 min | Yes (30 min) | Sticky, firm |
| Brown rice | 1 : 1.5–1.75 | 40–60 min | Recommended (30 min) | Chewy, nutty |
| Wild rice blend | 1 : 2.0–2.5 | 50–70 min | No | Chewy, firm |
| Black rice | 1 : 1.75–2.0 | 50–60 min | Yes (1 hour) | Dense, slightly sticky |
| Arborio (risotto) | 1 : 1.25 (per batch) | Add in stages | No | Creamy (use porridge setting) |
| Parboiled rice | 1 : 1.5–1.75 | 35–45 min | No | Firm, non-sticky |
“RCC” = Rice Cooker Cup (180ml). All ratios are measured in the same unit. Adjust slightly based on personal preference — if you prefer firmer rice, reduce water by 5–10%; for softer rice, increase it slightly.
Cooking Different Rice Types: Specific Guidance
Perfect Jasmine Rice
Jasmine rice is naturally fragrant and slightly sticky — it’s designed to cling a little. The key to excellent jasmine rice is using slightly less water than you’d think (closer to a 1:1 ratio rather than 1:1.5), rinsing well to remove surface starch, and never overcooking. Consider adding a pandan leaf to the pot before cooking for an authentic Thai-style fragrance.
Fluffy Basmati Rice
Basmati needs more water than most white rice varieties because the grains are longer and denser. Soaking for 20–30 minutes before cooking allows the grains to hydrate properly, which dramatically improves the fluffiness of the final result. After soaking, drain, add fresh water at the 1.25–1.5 ratio, and cook. The long grains should elongate beautifully without splitting.
Brown Rice
Brown rice is whole grain — it still has the bran layer intact, which is both nutritious and time-consuming to hydrate. It requires significantly more water (up to 1.75x) and longer cooking time (45–60 minutes). If your cooker has a dedicated Brown Rice setting, use it — it typically includes a longer soaking phase before the heating cycle begins. If your basic cooker doesn’t have this setting, soak brown rice for 30 minutes first, then cook using the extra water ratio.
Sushi Rice
Perfect sushi rice starts in the rice cooker but finishes outside it. After cooking short-grain Japanese rice, transfer it to a wooden bowl (hangiri) or a wide mixing bowl. While it’s still hot, fold in a mixture of rice vinegar, sugar, and salt (typically 3:1:0.5 ratio per cup of cooked rice). The wooden bowl absorbs excess moisture while the vinegar mixture seasons the rice. Fan the rice as you fold to cool it quickly and give it its characteristic glossy sheen. The rice cooker’s job is simply to produce properly cooked short-grain rice — the seasoning happens after.
Porridge and Congee
Most modern rice cookers include a Porridge or Congee setting, which uses a much higher water-to-rice ratio (typically 6:1 to 10:1) and a gentler, longer heating cycle. You can add ingredients directly to the pot — ginger slices, chicken broth, dried scallops — and the cooker will do the work. A standard 6:1 ratio will produce a medium-thick congee; 8–10:1 creates a smoother, silkier texture.
If you enjoy the versatility of pressure cooking rice, congee, soups, and more from a single appliance, check out our Instant Pot Duo review — it’s one of the most versatile kitchen appliances available for rice lovers who also want multi-functional cooking.
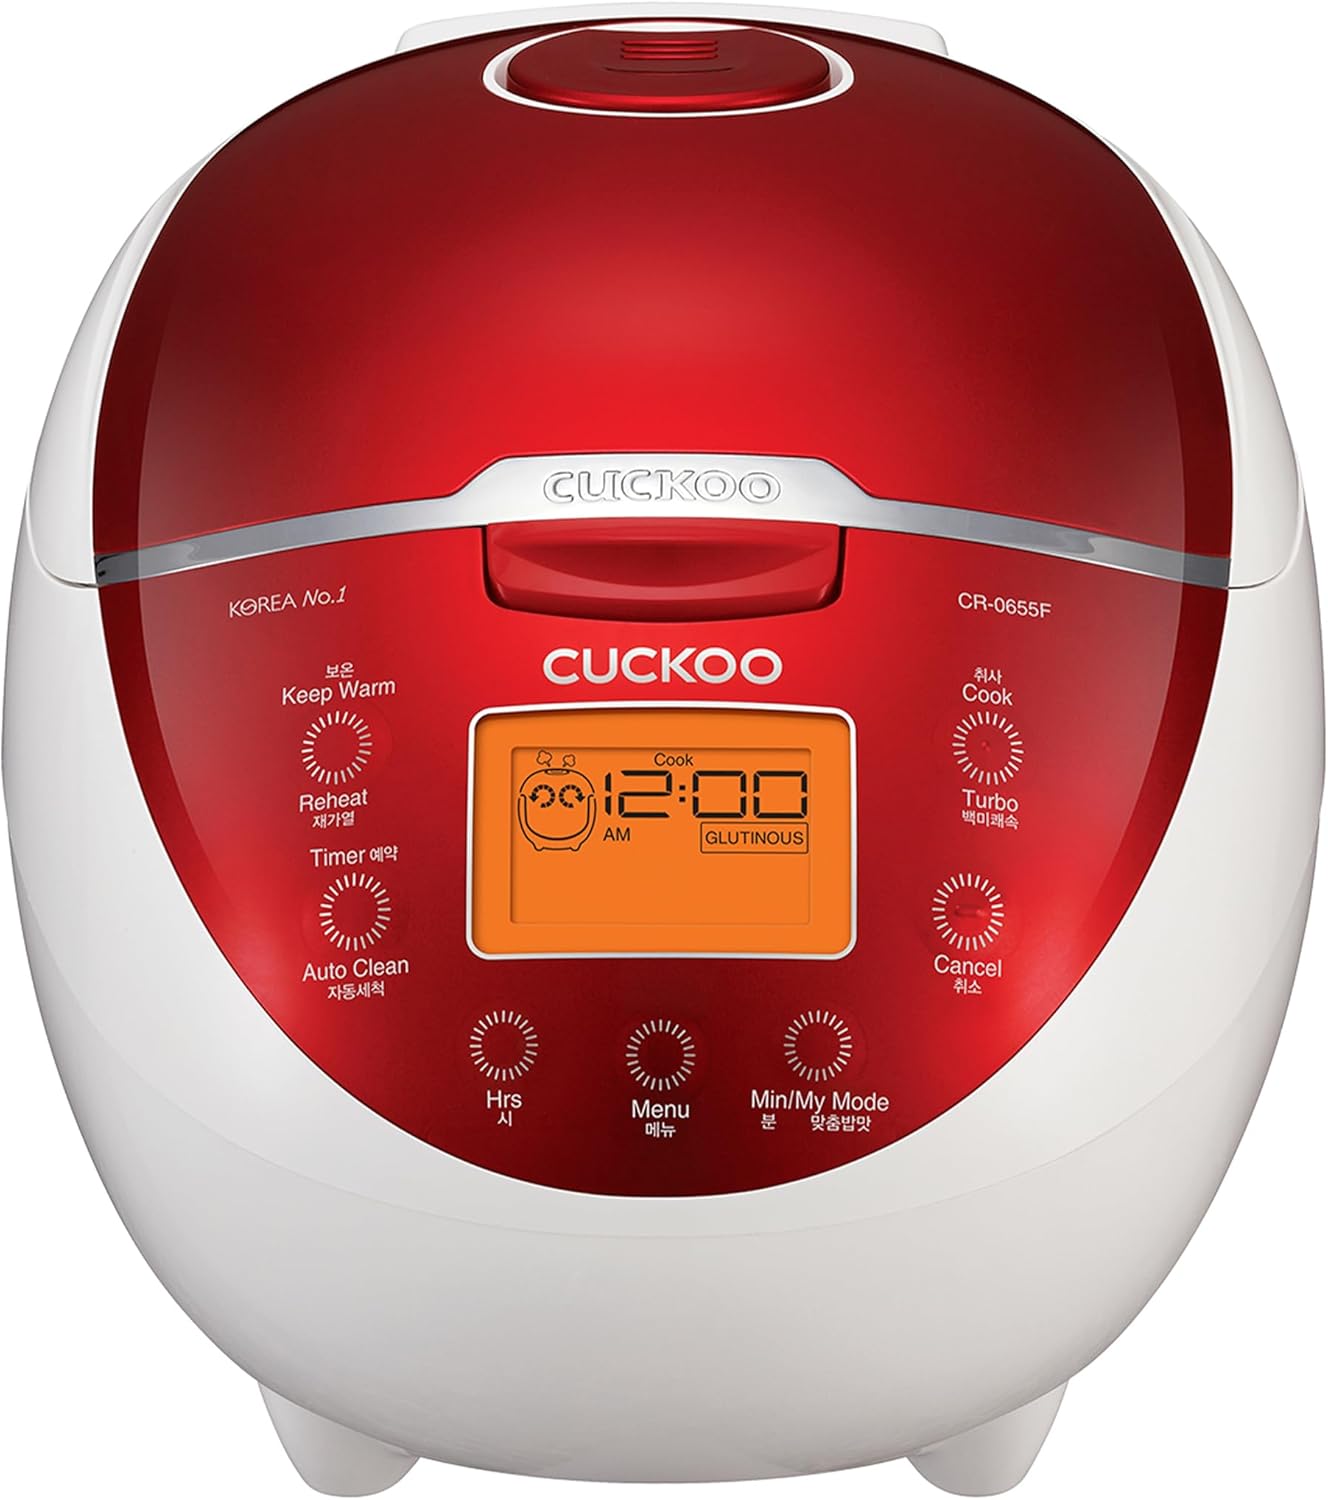
Cuckoo CR-0655F 6-Cup Micom Rice Cooker
Korean-made Micom rice cooker with multiple rice types including mixed grains, GABA, and porridge. Renowned for consistent quality and durability.
Check Price on Amazon →Advanced Techniques for Better Rice
Toasting Rice Before Cooking (Pilaf Method)
For an elevated, nutty flavor — particularly great with Basmati or long-grain white rice — try toasting the dry rice in a pan with a small amount of butter or oil before transferring it to the rice cooker. Heat a pan over medium heat, add a tablespoon of butter, then add the washed and dried rice. Stir constantly for 3–5 minutes until the grains turn slightly golden and you smell a nutty aroma. Transfer immediately to the rice cooker and add your water. The toasted grains produce rice with a beautifully complex flavor profile that turns a simple side dish into something memorable.
Cooking Rice in Broth
Replacing water with chicken broth, vegetable broth, or dashi (Japanese stock) is perhaps the easiest way to dramatically improve the flavor of plain rice. Use the same ratios as you would with water. The rice absorbs the broth’s flavor compounds during cooking, producing grains that taste deeply savory rather than neutral. This works exceptionally well under stir-fries, curries, or grilled meats.
Adding Aromatics to the Pot
The rice cooker is a sealed steam environment, which makes it surprisingly effective at infusing flavors. Common additions include: one or two garlic cloves (left whole or lightly crushed), a bay leaf, a cinnamon stick, pandan leaves for Southeast Asian rice, or even a lemon peel strip for brightness. These aromatics impart subtle flavor without overwhelming the rice. Remove them when fluffing.
The Towel Trick for Drier Rice
If your rice consistently comes out slightly wet or sticky on top, try this classic Japanese technique: when the cooking cycle completes, place a clean kitchen towel or a few layers of paper towel between the lid and the pot before allowing it to rest. The towel absorbs condensation that would otherwise drip back down onto the surface of the rice, keeping the top layer from getting waterlogged. This is especially effective in humid climates where condensation is more pronounced.
Steaming Vegetables Simultaneously
Most rice cookers come with a steaming tray or basket that sits above the inner pot. While your rice cooks, you can steam vegetables in this tray simultaneously. Timing matters: add vegetables that take 15–20 minutes (broccoli, cauliflower, carrots) at the beginning of the cook cycle. Add quick-cooking vegetables (spinach, snap peas, thinly sliced zucchini) in the last 8–10 minutes. This turns your rice cooker into a two-component meal machine with essentially zero additional effort.
If you’re interested in how different appliances handle steaming and cooking vegetables, our air fryer vs. steam oven comparison explores the fundamental differences between dry and steam cooking methods that influence texture and nutritional retention.
Delayed Start Cooking
Many Micom and fuzzy logic rice cookers include a delay timer function that allows you to prepare the cooker in advance and have rice ready at a specific time — perfect for having cooked rice waiting for you when you get home. Important caveat: if you use the delay timer, do not pre-soak the rice in the pot. Soaking for extended periods (especially at room temperature) can cause the rice to ferment slightly or, in warm weather, create conditions for bacterial growth. Measure, rinse, add water, and set the timer — but leave the rice unwrapped and unsoaked.
🔑 Advanced Technique Summary
- Toast rice in butter before cooking for nutty depth
- Use broth instead of water for savory, complex flavor
- Add aromatics (garlic, bay leaf, pandan) directly to the pot
- Use the towel trick to prevent surface moisture on rice
- Steam vegetables in the tray during the cook cycle
- Use the delay timer — but don’t pre-soak when doing so
Common Rice Cooker Mistakes (And How to Fix Them)
Even with the best equipment and intentions, rice cooker cooking can go wrong. Here are the most common failures and exactly how to diagnose and correct them:
Mushy, Overcooked Rice
Cause: Too much water. This is the most frequent complaint. Also possible: using the wrong setting (brown rice cycle for white rice), or using the wrong measurement cup.
Fix: Reduce water by 10–15% in your next batch. Ensure you’re using rice cooker cups, not US measuring cups. Verify you’ve selected the White Rice setting.
Hard, Undercooked Rice
Cause: Too little water, or the cooker switched off prematurely. Also common when cooking brown or wild rice on the white rice setting.
Fix: Add 2–3 tablespoons of water, close the lid, and run another short cook cycle. For the future, increase water slightly and ensure you’re using the correct setting for your rice type.
Rice Sticking to the Bottom
Cause: The non-stick coating on the inner pot is worn out, or there was residue on the pot from previous cooking. Also happens when too little water is used.
Fix: Lightly oil the bottom of the inner pot before adding water and rice (a small spray of cooking oil works well). If the coating is visibly scratched or peeling, replace the inner pot — cooking in a damaged non-stick coating is not advisable.
Rice Smells Odd or Burnt
Cause: Rice debris from a previous cook is burnt onto the heating element, or the bottom of the inner pot isn’t clean. Also happens if starchy water was left to dry on the heating plate.
Fix: Clean the inner pot thoroughly after every use. Wipe the heating plate with a damp cloth (never submerge the cooker base in water). Ensure the outside of the inner pot is free of water before inserting it.
Unevenly Cooked Rice (Dry Top, Wet Bottom)
Cause: Skipping the resting period, or not fluffing properly.
Fix: Always allow 10–15 minutes of post-cook resting. Fluff using the cut-and-fold technique to redistribute moisture evenly throughout the pot.
Rice Is Too Wet but Not Undercooked
Cause: Excess condensation dripping from the lid back onto the rice surface.
Fix: Try the towel trick (described in Advanced Techniques). Also ensure the steam vent on your lid is clear and unobstructed — a clogged vent causes excessive internal condensation.
✅ What Makes Rice Excellent
- Properly rinsed (3–5 times)
- Correct water ratio for rice type
- Right setting selected
- 10–15 min rest after cooking
- Cut-and-fold fluffing technique
- Clean, intact inner pot
❌ What Ruins Rice
- Wrong measuring cup used
- Lid opened during cooking
- No resting period
- Stirring instead of folding
- Scratched non-stick coating
- Incorrect setting for rice type
Must-Have Accessories for Your Rice Cooker
A good rice cooker deserves supporting tools that help you get the best results and maintain the appliance properly. Here are the accessories worth investing in:
Rice Paddle (Shamoji)
The paddle that comes with most rice cookers is functional, but quality matters. A good rice paddle should have a slightly textured or dimpled surface — this prevents rice from sticking to the paddle while you serve. Wooden paddles are beautiful but require more care; high-quality silicone paddles are more practical for daily use. Never use metal.
Digital Kitchen Scale
For consistent results, especially when cooking multiple types of rice with different water ratios, a precise scale is invaluable. Measuring by weight (grams) rather than volume eliminates the variability introduced by different grain sizes and packing densities. Our guide to the best digital kitchen scales covers what to look for in terms of accuracy and readability.
Fine-Mesh Strainer / Rice Washing Bowl
A fine-mesh strainer makes rinsing rice cleaner and more efficient than trying to drain water from the inner pot directly. Dedicated rice washing bowls with a perforated base are also available and are particularly helpful for rinsing large quantities.
Measuring Cups and Spoons
Keep a set of rice cooker cups aside specifically for rice cooking so you don’t accidentally mix them with standard US measuring cups. If you cook rice in large or varied quantities, having a set of graduated measuring cups is helpful. Our reviews of best measuring cups for accuracy and measuring spoon sets are worth reading if you want to upgrade your measurement kit.
Replacement Inner Pot
The inner pot’s non-stick coating will wear out over time, especially if you’ve accidentally used metal utensils. When you notice significant scratching, peeling, or flaking of the coating, replace the inner pot rather than continuing to cook in it. Most major brands sell replacement inner pots for their models — check your model number and order the correct one. A fresh inner pot can extend your rice cooker’s useful life by years.

Premium Rice Cooker Accessory Set
Includes non-stick rice paddle, measuring cup, and cleaning brush — everything you need to maintain your rice cooker and serve perfect rice consistently.
Shop Rice Cooker Accessories →Cleaning and Maintaining Your Rice Cooker
Proper maintenance is what separates a rice cooker that lasts 15 years from one that fails in 18 months. The good news is that rice cookers are remarkably easy to clean — as long as you do it consistently after every use.
After Every Use
- Inner pot: Hand wash with warm soapy water and a soft sponge. Never use abrasive scrubbers, steel wool, or harsh chemicals on the non-stick surface. Rinse thoroughly and dry completely before storing.
- Lid: Remove the inner gasket or seal (if removable) and wash it separately. The lid itself can usually be wiped down with a damp cloth. Check whether your lid is dishwasher-safe (many are).
- Steam vent: This is the most commonly neglected component. Starchy steam residue builds up inside the vent cap over time and can clog it. Remove the vent cap (usually just pulls off) and rinse under running water.
- Exterior and base: Wipe the outside with a damp cloth. Clean the heating plate carefully with a dry or barely damp cloth to remove any rice starch residue. Never submerge the cooker base in water.
Deep Cleaning (Monthly)
Once a month, give your rice cooker a more thorough clean. Fill the inner pot with water and a tablespoon of white vinegar or lemon juice, then run a full cook cycle. This process removes stubborn mineral deposits and starch residue that builds up over multiple uses, particularly inside the lid. After the cycle, dump the water, rinse the pot, and wipe the interior of the lid cavity thoroughly.
Prolonging the Non-Stick Coating
The non-stick coating on your inner pot is the most vulnerable component of the appliance. To maximize its lifespan: always use plastic, silicone, or wooden utensils; never stack anything heavy on top of the inner pot when storing; and avoid washing the pot in very hot water immediately after cooking (the rapid temperature change can stress the coating). When the coating begins to look dull or develops visible scratches, it’s time to replace the pot.
Rice Cooker Troubleshooting Guide
Even well-maintained rice cookers can develop issues. Here’s a systematic approach to diagnosing and resolving the most common problems:
| Problem | Likely Cause | Solution |
|---|---|---|
| Cooker won’t switch to “Cook” mode | Inner pot not seated properly | Remove and re-seat the inner pot; give it a slight twist |
| Switches off too early | Excess moisture on outer pot bottom; faulty thermostat | Dry the outer surface; if persistent, contact manufacturer |
| Rice sticks to the bottom | Worn non-stick coating; too little water | Replace inner pot; increase water ratio slightly |
| Rice burns on the bottom | Significantly too little water; heating element issue | Increase water; clean heating plate; check element |
| Excessive steam from sides | Overfilled pot; clogged vent; lid seal worn | Don’t exceed max fill line; clean vent; replace gasket |
| Display shows error code | Sensor malfunction; specific error varies by model | Consult manual; unplug for 10 minutes and retry |
| Lid doesn’t close properly | Rice or debris on seal; warped gasket | Clean the rim and seal area; replace gasket if warped |
| Keep warm mode not maintaining heat | Heating element weakening; setting error | Check setting; if element is weak, service or replace unit |
When to Replace Your Rice Cooker
Rice cookers generally last 5–10 years with proper maintenance. Signs it’s time to replace the unit (not just the inner pot): the heating element fails to maintain proper temperatures consistently, the display or timer functions erratically, the machine makes unusual clicking or burning smells, or the cooker repeatedly fails to switch off at the correct time. For context on how other appliances compare for longevity, see our kitchen essentials guide for new homeowners.
Choosing Your First (or Next) Rice Cooker
If you’re in the market for a new rice cooker, the range of available options can be genuinely overwhelming — prices span from $15 to $600, and features vary enormously. Here’s how to think through the decision intelligently.
Capacity: How Much Rice Do You Actually Cook?
Rice cookers are typically measured in their uncooked rice capacity. A 3-cup cooker (rice cooker cups) is right for 1–2 people. A 5–6 cup model suits 2–4 people comfortably. An 8–10 cup model is ideal for families of 4–6 or those who like to cook in bulk. Remember: cooked rice roughly doubles in volume, so a 5-cup cooker will produce about 10 cups of cooked rice per batch.
Features Worth Paying For
The most worthwhile upgrades, in order of impact:
- Multiple cooking settings: At minimum, separate settings for white and brown rice are essential if you cook both.
- Delay timer: Genuinely useful for busy households who want rice ready at a specific time.
- Keep Warm function: Standard on all but the cheapest models, but verify the quality — a good keep-warm maintains rice properly for 4–6 hours without drying it out.
- Removable, washable lid: Makes cleaning dramatically easier and reduces bacterial buildup in the steam vent area.
- Fuzzy Logic or Micom: Worth the premium for consistent results, especially if you cook varied types of rice.
Features That Are Nice But Not Necessary
A smartphone app or WiFi connectivity, a voice assistant integration, a yogurt-making function, or a cake-baking setting are interesting features that some premium models include. For most households, these are rarely used. Focus your budget on core cooking quality rather than peripheral features.
If you’re building out a complete kitchen, our tiered guide to kitchen appliances for new homeowners can help you prioritize which tools to invest in first. You might also want to consider complementary appliances like a quality Instant Pot for pressure cooking, or a food processor for prep work that makes cooking rice-based meals faster.
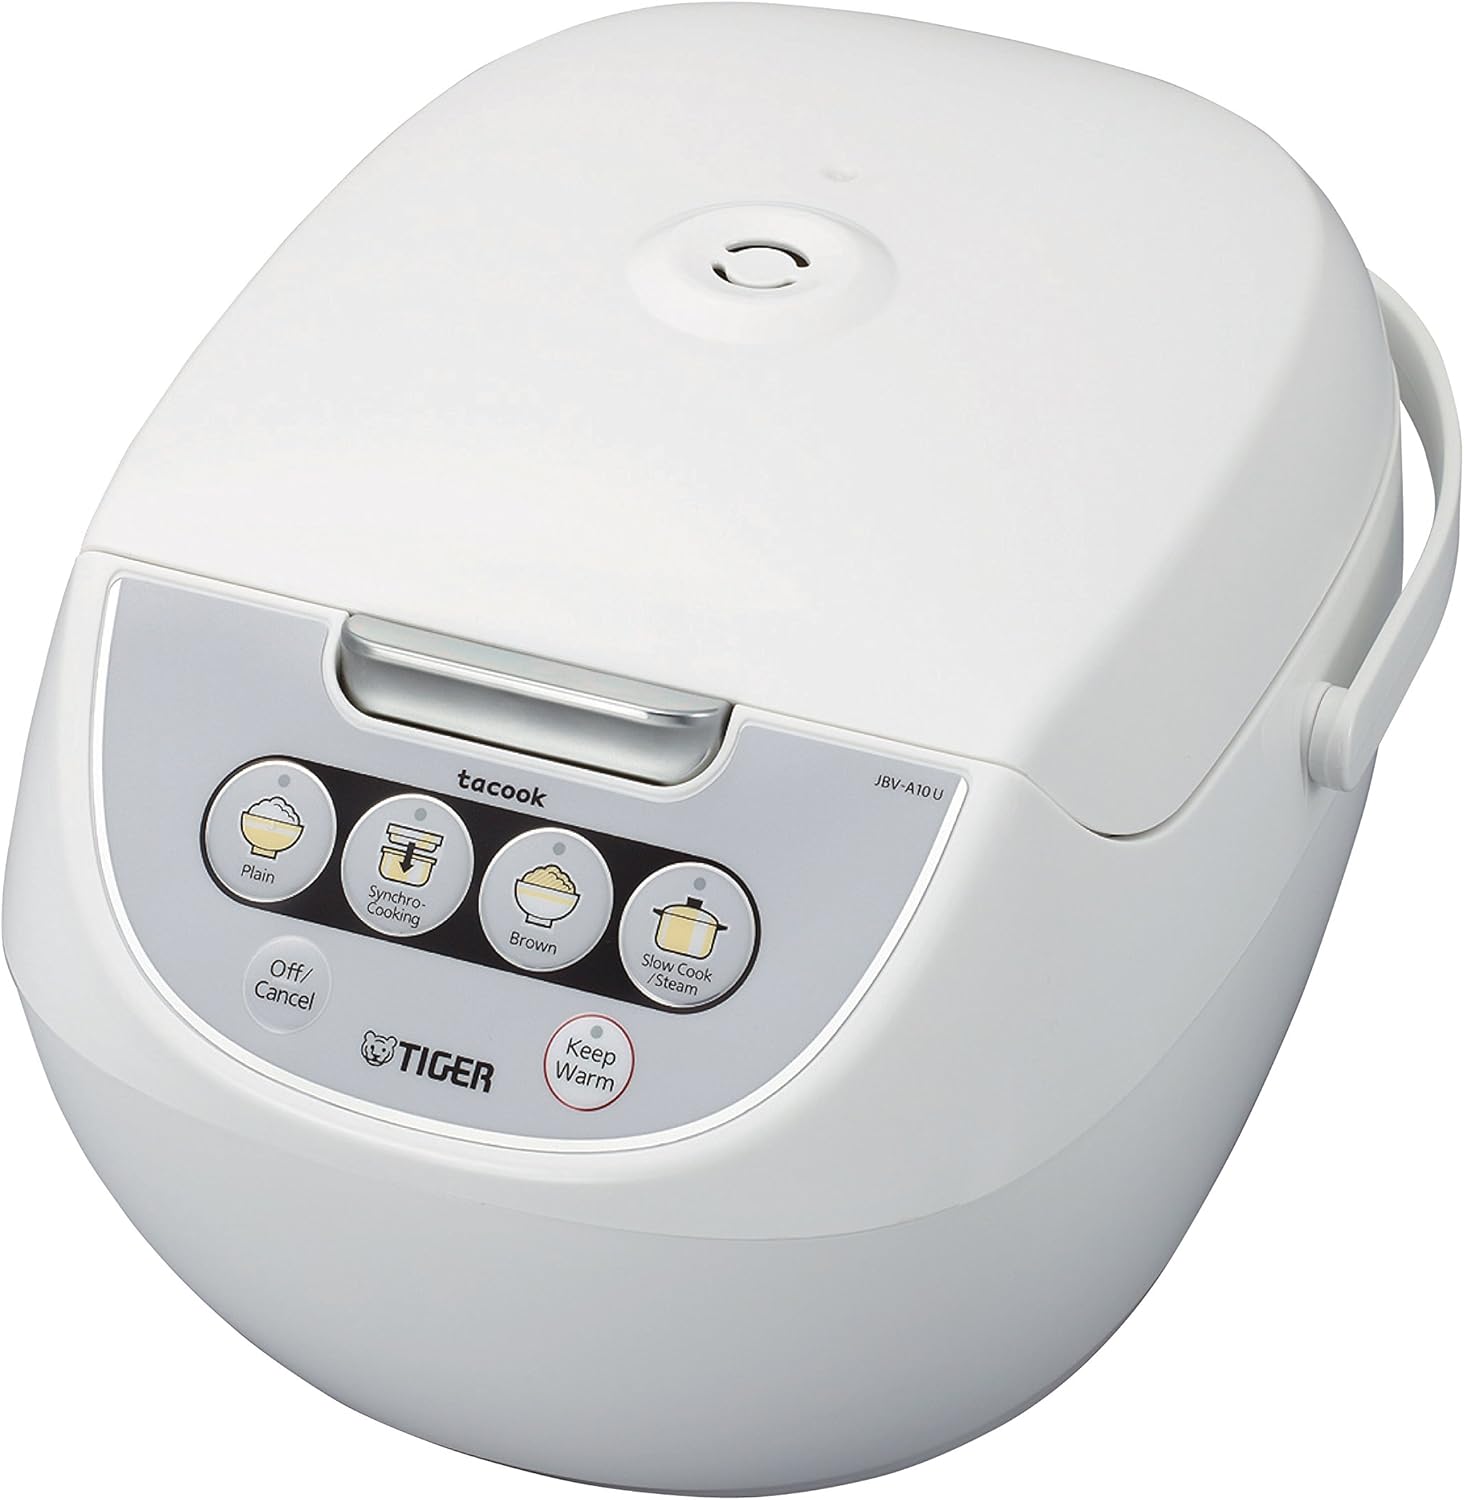
Tiger JBV-A10U 5.5-Cup Micom Rice Cooker
Japanese engineering with tacook simultaneous cooking function — cook rice and a side dish at the same time. Includes multiple settings for different grains.
Check Price on Amazon →Brand Considerations
Japanese and Korean brands dominate the premium segment for good reason: Zojirushi, Tiger, Panasonic, Cuckoo, and Toshiba all produce machines with exceptional build quality, precise temperature control, and excellent after-sales support. For budget-conscious buyers who still want reliability, Aroma Housewares and Black+Decker offer good value at the entry level. Avoid obscure brands with no reviews or track record — rice cookers are appliances you’ll use daily, and quality control matters.
Frequently Asked Questions
You Now Know How to Use a Rice Cooker Like a Pro
From measuring with the correct cup and rinsing properly, to nailing water ratios for every rice type, resting your rice, and mastering the cut-and-fold fluff — you now have everything you need to produce consistently excellent rice. The gap between mediocre and outstanding rice is surprisingly small, and it’s made up entirely of the details covered in this guide.
Start with the basics: rinse, measure correctly, use the right setting, rest it, and fluff properly. Once those feel natural, layer in the advanced techniques — cooking in broth, adding aromatics, the towel trick. Your rice cooker is ready to perform. Now so are you.
Browse Our Top Rice Cooker Picks →
Instant Pot Duo 7-in-1 Electric Pressure Cooker
Cook rice and so much more — pressure cook, slow cook, steam, sauté, yogurt maker, and sterilizer in one appliance. An excellent complement or alternative to a standalone rice cooker.
Check Price on Amazon →Affiliate Disclosure: This article contains Amazon affiliate links using the digitalkitchenguide-20 tag. If you purchase through these links, we may earn a small commission at no additional cost to you. This helps support our independent research and writing.


